3 Easy Steps to a Beautiful Google Docs Invoice That’s Always Available
Written by Angela on December 21, 2020
Since it’s the season of giving, you’re in for a real treat with this easy to follow Google Docs invoicing guide!
We know it’s important to put your best dress shirt on when you’re working with your clients. It’s even more important when it comes to asking for your payment. You don’t want to seem like you don’t know what you’re doing.
Try our online invoicing software for free
Accept online payments with ease
Keep track of who's paid you
Start sending invoices
Your invoice needs to be professional, but also on-brand and reflect your business’ values. You need an invoice design that will help you strengthen your branding and assure your clients that you’re the perfect fit for their business.
In this day and age, it’s also important to make sure your invoices are always available to you, no matter where you’re working, or what computer you are using. Losing your invoice history because of a hard drive crash is another problem you don’t want have to worry about.
Good thing there are many options for storing documents online, not the least being Google Drive and its suite of office tools.
Did you realize that you can easily create a beautiful invoice using Google Docs? With a little time and effort, you can create a Google Docs invoice template that you can reuse easily across all your invoicing needs. This makes it possible to conveniently store all your invoicing history right in your Google Drive account, ensuring that your data is always available.
It’s easy to create a Google Docs invoice that’s personalized with your business’ branding. You only need your Google account and access to Google Drive, and you’re all set.
In this blog post, we’ll walk you through how to create a Google Docs invoice template, and how to use it in your business.
Let’s start from the top.
1. Starting your Google Docs document
In your Google Drive account (https://drive.google.com/), click on “+ New“, located towards the top-leftmost section of the page.
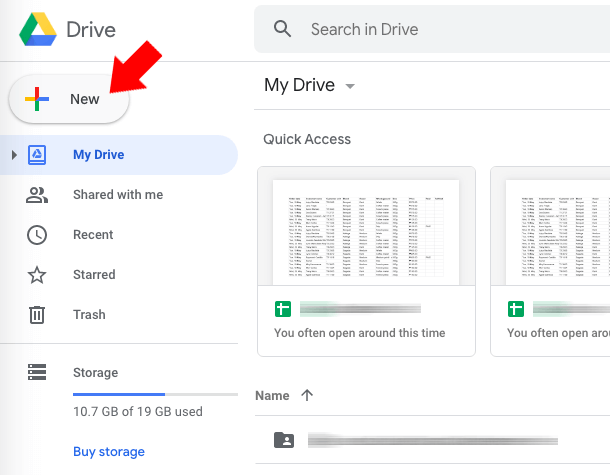
Click on “Google Docs” in the menu that appears to create a new blank Google Docs document for your invoice template.
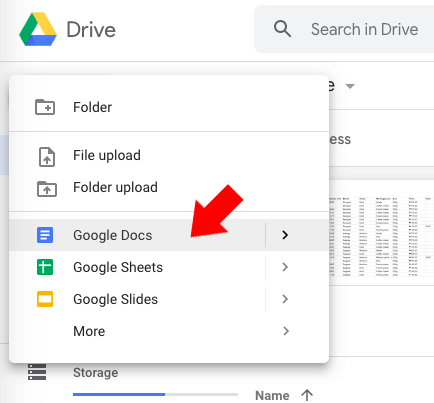
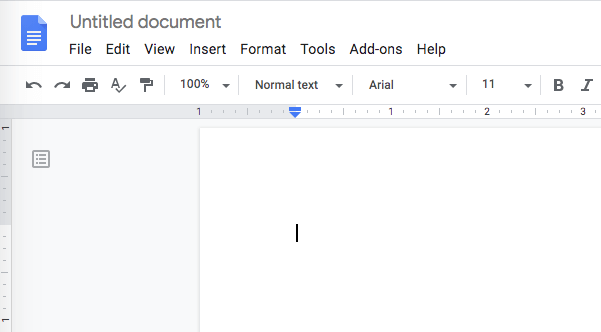
You will be directed to a new browser window with an empty, blank document ready for your Google Docs invoice template contents.
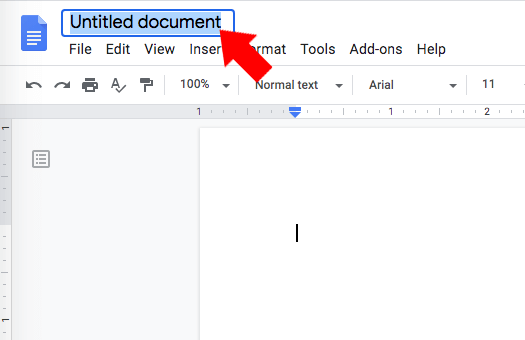
You can rename this document to make you easily remember what it is for. Click on the “Untitled document” filename displayed on the top left of the screen. Type in your preferred name, and hit Enter / Return.
Now you’re ready to start adding your business’ branding to your Google Docs invoice!
2. Adding a Branded Header to Your Google Docs Invoice
Your invoice is a fantastic tool for increasing brand awareness. Making the extra effort to personalize your templates can go a long way. So be sure to jazz up your headers and including a logo represents who you are and what your business stands for. Here’s how:
2.1. Adding Your Logo
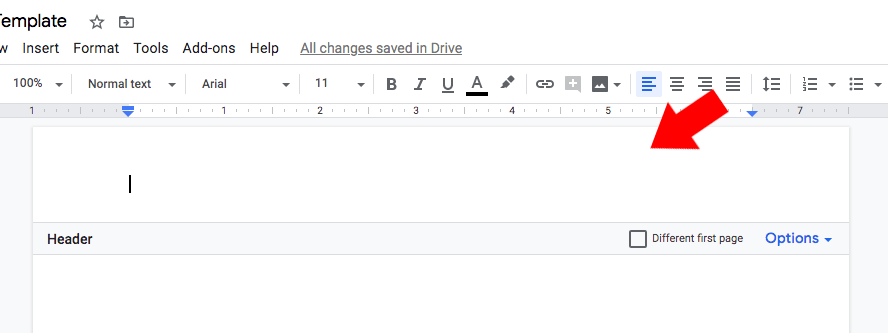
Double-click on the top-most section of your document. This will give you quick access to the “Header” section so you can easily edit the header of all your template’s pages.
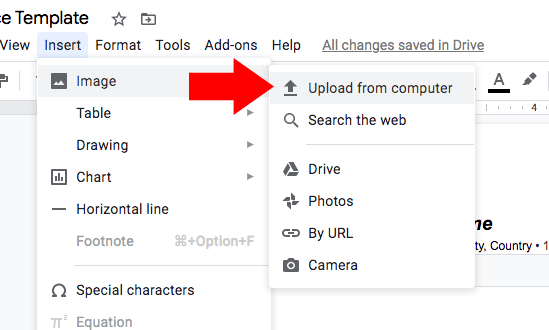
In the “Insert” menu, select “Image“, and then “Upload from computer“.
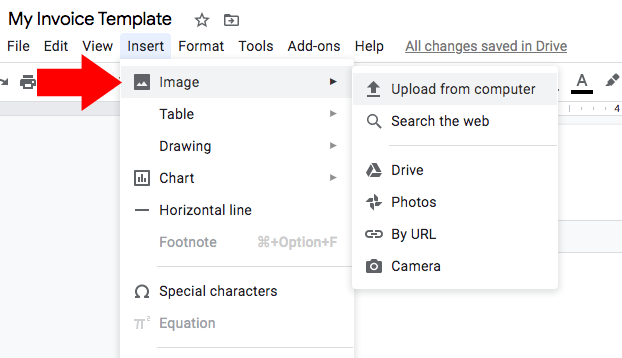
If you have your logo stored on your Google Drive, you can also search for your logo in your Google Drive by selecting “Drive“.
For this example, we’ll upload a logo we have on our computer.
When you first upload the logo, it might end up a bit on the large size, depending on your image. But don’t worry — you can adjust the size of your logo in the header easily.
(Your logo might also be smaller than what you would like. While you can resize them larger, it would generally be better to start off with a larger logo. This is to ensure that your logo is crisp and professional-looking!)
We’ll resize your logo right now.
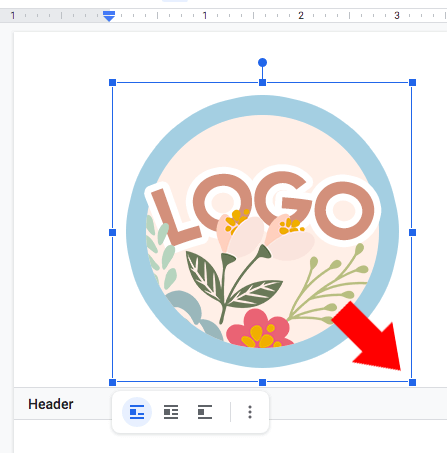
Click on the logo image on the page. A blue border and handlebars will appear around the image. These handlebars will allow you to resize the image.
Click and drag the lower-right handlebar to resize your image smaller or bigger.
The image should retain the same ratio between its width and height. Make sure it remains the same so that your Google Docs invoice looks as professional as possible! If it does not, Undo your resize (Edit > Undo, or Ctrl+Z (Cmd+Z for Mac)) and hold down the Shift key while you drag your logo to the proper size.
Pro-tip: If you don’t have a logo for your business, make one! You can make a professional logo for as little as 5 dollars on Fiverr, a treasure-trove of freelance design.
2.2 Positioning Your Logo
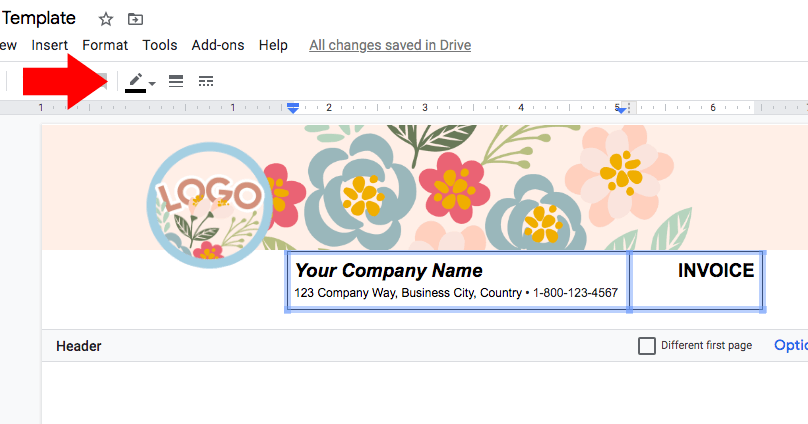
By default, adding any text along with your logo will result in something like this:
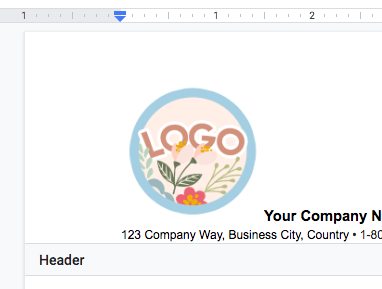
We’d like the logo to remain at the left so we can put as much text as we want beside it.
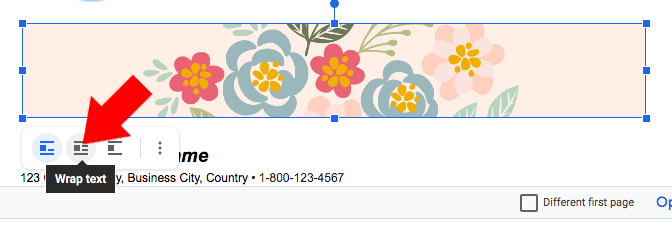
To do this, select the logo again by clicking on it, and clicking on the middle icon in the floating menu that appears near the image. “Wrap text” will appear if you hover over the middle icon, too.
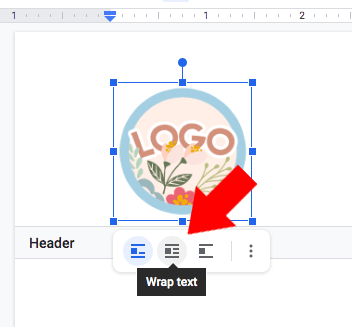
Your text should start flowing beside the logo when you select “Wrap text“.
You can add empty spaces on top of your text to bring the text to the middle of the empty space, or change the font size, color, and so on.
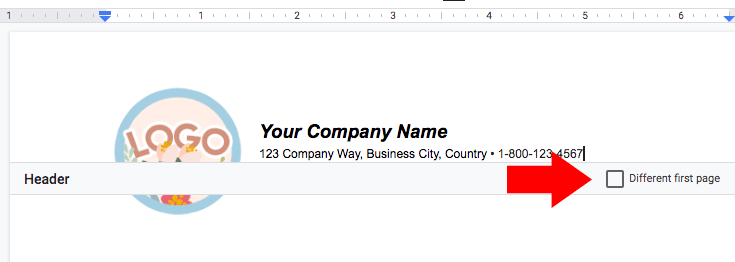
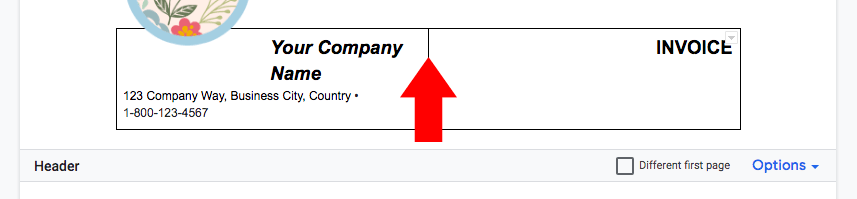
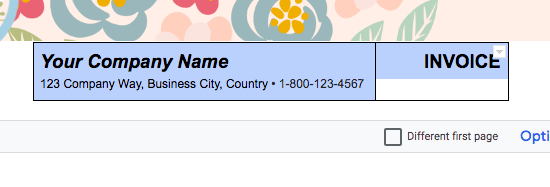
If you click outside of the header area, you can see the header as it will show up when you download or print your Google Docs invoice!
Each page in your invoice will look like what you do here, unless you select “Different first page“.
2.3 Optional – Adding A Header Background
You might want to give your Google Docs invoice a little more personality by adding a header background, or insert your company letterhead. That’s easy to do as well.
Click back on the Header section of your document by double-clicking on the header area.
Now let’s insert the header image.
Insert another image the same way we inserted our logo, by selecting the “Insert” menu, “Image“, and then “Upload from computer“.
Select your letterhead or header image. For best results, choose a header image that is longer horizontally and has a high resolution.
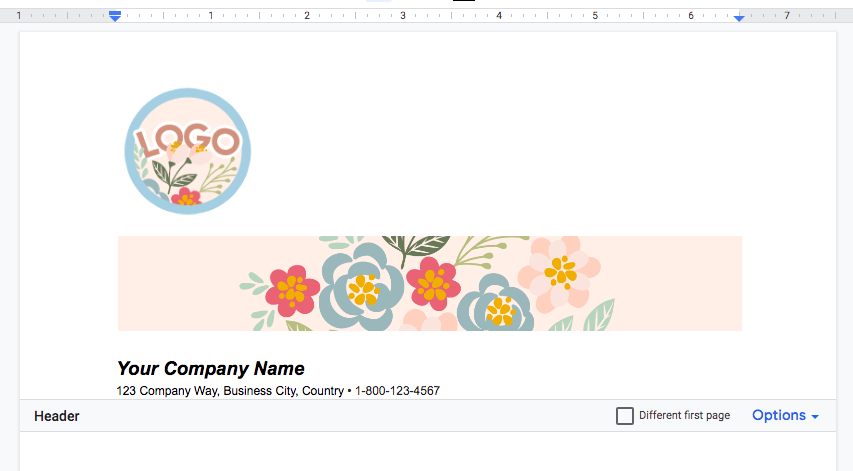
Once you upload the header image, your header might look out of whack. That’s okay, for now. We’ll fix that!
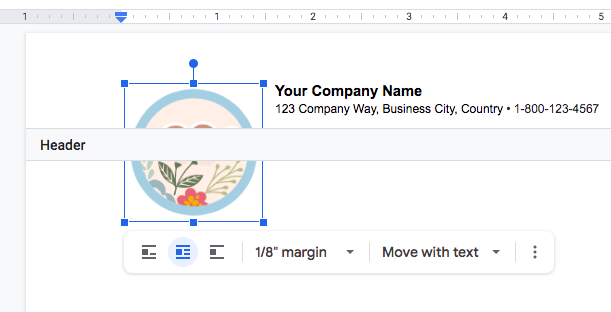
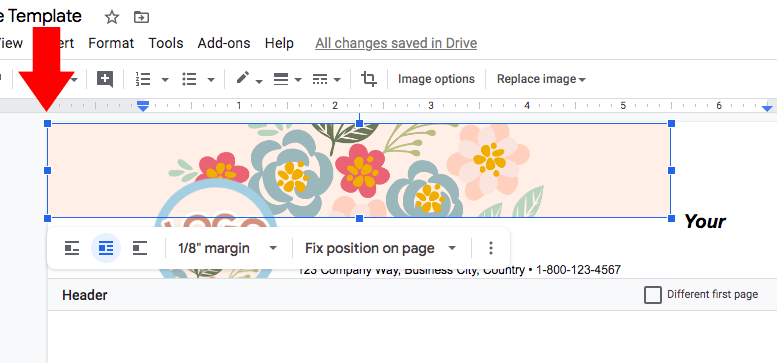
Now select your header image by clicking on it, and click the “Wrap text” menu icon.
Click on the “Move with text” dropdown on the floating menu bar for the image, and select “Fix position on page“.

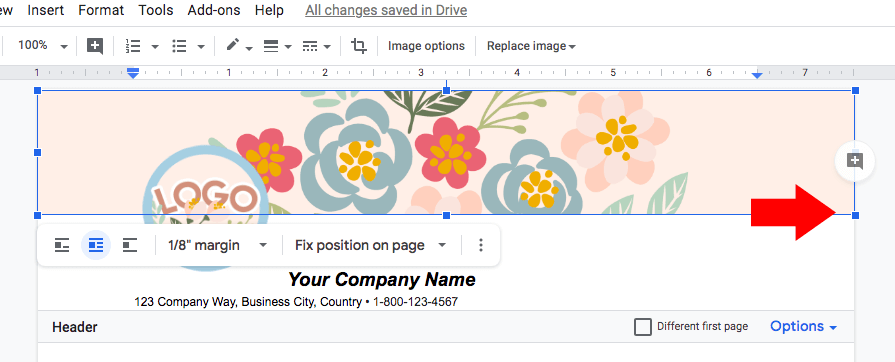
Drag your header up toward the upper left edge of the page, as close to the edge as possible.
Now grab the lower right handlebar and drag it to fill out the rest of the page.
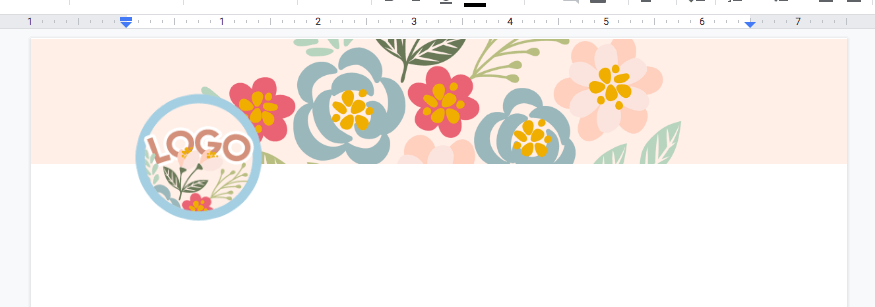
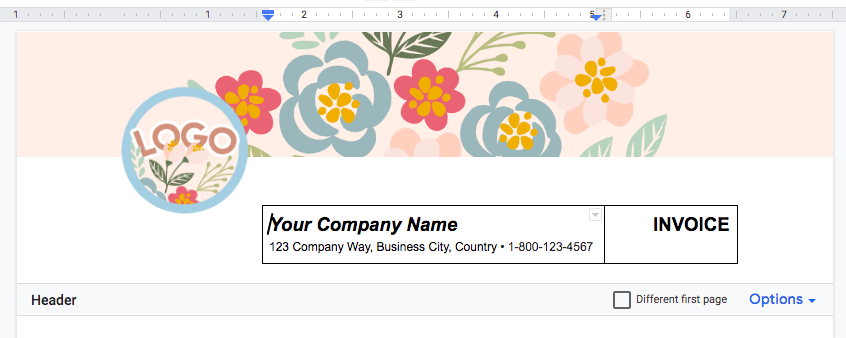
Click outside the header to take a look at your beautiful new Google Docs invoice header!
Now let’s get started on your invoice header text.
2.4 Adding Your Header Text
You can add as much information here as you would like in your Google Docs invoice’s header. Some examples of information you can include are:
- Your Name
- Your Email
- Business Address
- Business Phone Number
and any additional information you would like your clients to take note of.

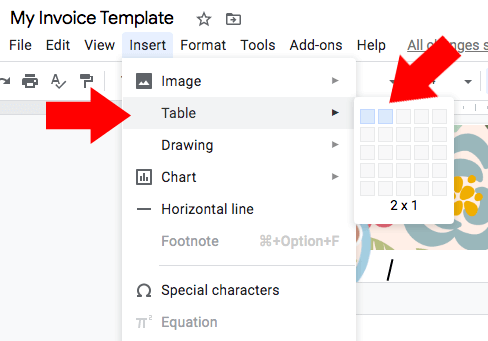
If you need more than one column of text — for example, you’d like the word “INVOICE” on the right side, plus the date for the invoice, you can create columns of text by using tables.
Select the “Insert” menu, and under the “Table” menu item, hover over the number of cells you’d like your table to have. For this tutorial, I just want two columns, so I’ll make a 2 x 1 table.
Put in your header text into the columns. You can resize the column widths by clicking on the cell border and dragging it to the left or right, depending on how you’d like it to look like.
I am dragging my column widths from here…
…to here:

We can also resize the leftmost column border, so we end up with something like this:
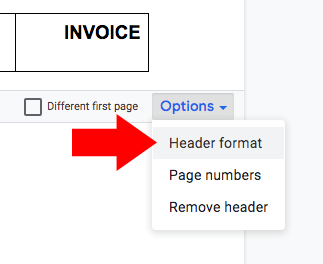
If your table is sitting too low in the document, we should remove the space on top of the table. Unfortunately, Google Docs won’t allow you to remove the first “paragraph” above your table. To address this, we’ll have to change the header margin.
Click on “Options” in the lower right corner of the header area and select “Header format“.
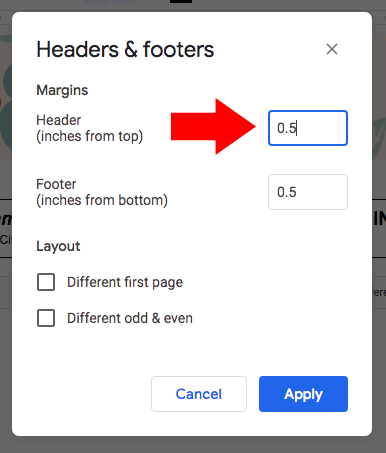
In the dialog box that shows up, change the value of “Header (inches from top)” to whatever value that looks best for your document. You may have to experiment a little.
Now that the table is positioned where we’d like it to be, let’s remove the borders of our table columns. Highlight all the cells in the table by selecting and dragging all the text within the cell.
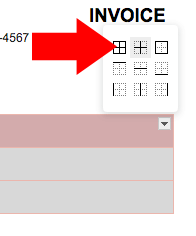
Select the the cell borders by clicking on the small dropdown icon on the top rightmost cell and clicking on the all borders icon.
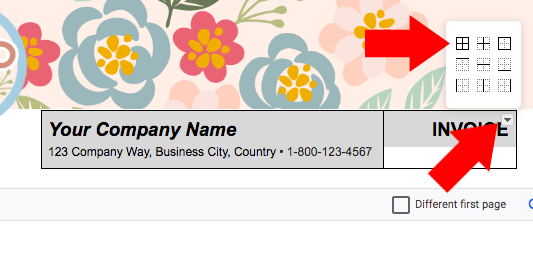
All the borders should be selected, and the icon menu should update to display some border options available to you.
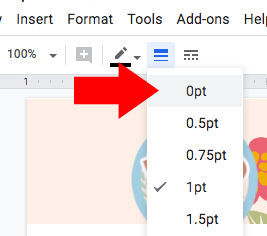
Select the border size option and choose 0pt, so that we won’t have to see the borders anymore.
Your header is finally ready!
3. Creating the Body of the Google Docs Invoice
The body of your Google Docs document will be the main body of your Google Docs invoice as well. This can contain the various details of your invoice — your client’s details, invoice numbers, dates, and the like.
Additionally, an important part of any invoice is the itemized list of deliverables, which we can display using a table in our document.
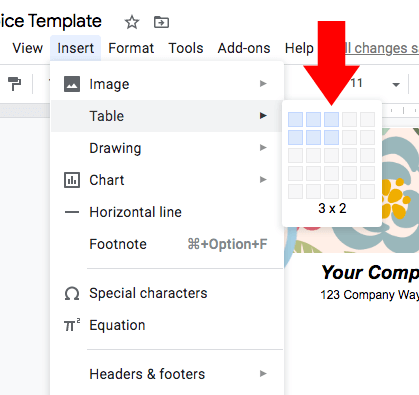
From the “Insert” menu, select “Table“, and select how many rows and columns you’d like your table to be. We can start with just two rows (which will be the column title and the first item in the invoice–we can add more later), but the number of columns may vary.
There are three most common columns for invoices: a column for “Item Name”, one column for “Item Quantity”, and one more for “Item Description”.
Let’s make a 3 x 2 table now by selecting this in our Table menu.
If you would like to change the background color of your header cells, you can select the rows that you’d like to change the background color of, and going to the “Format” menu. Choose the “Table” submenu, and then choose “Table Properties“.
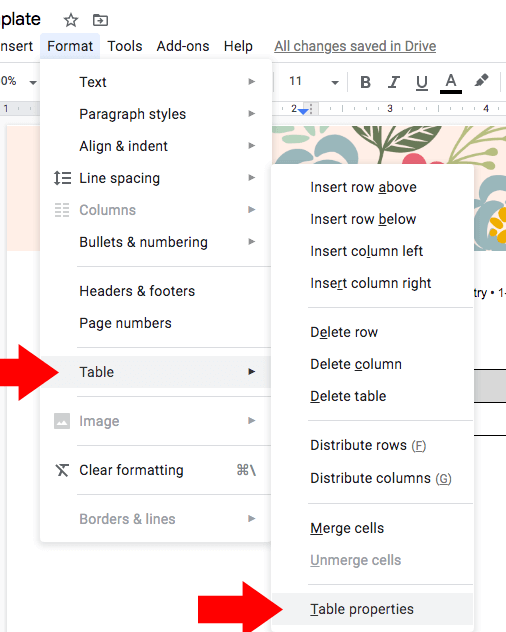
In the dialog box that shows up, you can choose the cell background color into the color of your choice, as well as any border color for those selected cells.

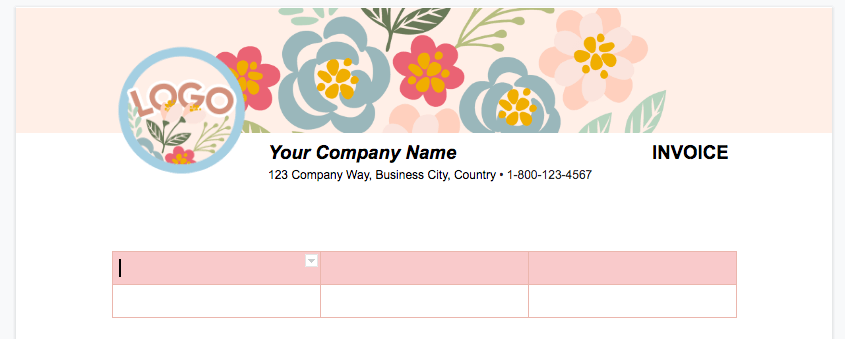
Here’s what our item table now looks like.
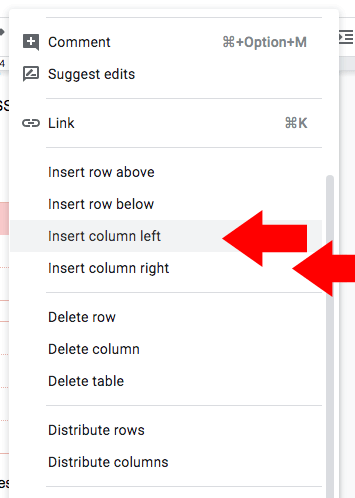
We can add more columns to our table if we need by right-clicking anywhere inside the table, and selecting “Insert column left” or “Insert column right” from the menu that appears.
We can also select the internal borders in order to specify a different design for the internal cell borders if you would like to further design your table.
Like what we did in the header, you can change the border line thickness, color, and even style! Here’s an example of how to change the border from a solid line to a dashed or dotted line.
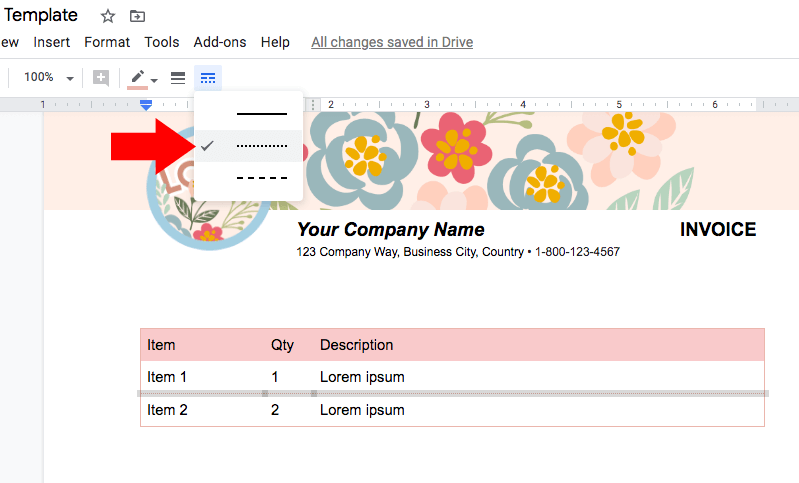
You can be as creative as you want! Try to match your branding to make sure your invoice delivers a solid, cohesive feel to your business.
Lastly — make sure that the text you need to replace are obvious to you so that you remember to replace them as you create new Google Docs invoices. While Google Docs doesn’t have placeholder text, something like using “XX” for dates or “NAME” for a spot where you’ll type in a name are good examples of placeholder text you can easily see.
Using Your Invoice Template
Congratulations on creating a beautiful, on-brand template for your business! It’s time to put it to work.
Once you have made your invoice template document, it’s always available in Google Drive and you can even share it across your team who needs access to your template. If you have a Google Suite account, you can save that document as a Template. But even if you don’t, it’s easy to make new invoices from your document.
To create a new Google Docs invoice, select the “File” menu, and click on “Make a copy“.

A dialog box will appear where you can give your invoice a new name or filename, and even move it into a specific folder in your Google Drive account. This is great for organizing your invoices according to your client, time issued, and so on.
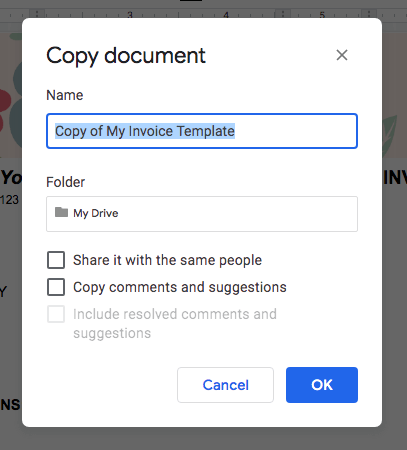
After choosing a name and location for your new Google Docs invoice, you’re free to put in your invoice details using the template you just created.
Although it’s highly customizable and always in the Internet and ready for you to use, creating your invoice from a template like this can be tedious and tiring. You can save a lot of time by simply signing up for InvoiceBerry online invoicing software. There are 15 nicely designed invoice templates that you can use on the fly.
InvoiceBerry also tracks invoices for you, and you can schedule repeating invoices. This way, you don’t need to worry about making new copies of your template to manually send to your client every month. You can use the time saved to manage and improve your business instead!
Whether you opt for Microsoft Word, Google Docs, or a time-saver online software like InvoiceBerry, making sure you hit the home run when you send your invoice will help you get paid faster.
Cheers!